Portfolio Website: Getting Started Guide
Portfolio Website: Getting Started Guide
This guide walks you through everything you need to get the open-source developer portfolio running on your local machine — from prerequisites to your first successful preview in the browser.
Repository: github.com/bayzed123/sayadbayezid-portfolio-
In this guide
- About this project
- Prerequisites
- Step 1: Fork the repository
- Step 2: Clone your fork
- Step 3: Review the project structure
- Step 4: Run the setup script
- Step 5: Install blog system dependencies
- Step 6: Preview locally
- Step 7: Verify everything works
- Troubleshooting
- Frequently asked questions
- Next steps
About this project
This is a free, open-source developer portfolio template built as a fully static website — meaning it requires no backend server, no database, and no paid hosting to run. It includes:
- A complete personal portfolio homepage (hero, about, projects, services, contact sections)
- An automated blogging system that converts Markdown or HTML files into published blog posts using GitHub Actions
- SEO essentials pre-configured (sitemap, robots.txt, structured meta tags)
- Multi-language scaffolding (
i18n/) - A ready-to-use 404 page, contact form, and privacy policy template
Note
This is not a framework or CMS — there is no admin dashboard. All customization happens by editing plain HTML, Markdown, and a single Python conversion script. This keeps the project lightweight and fully under your control.
Who this guide is for
This guide assumes:
- You are comfortable running basic terminal/command-line commands
- You have a GitHub account
- You want a personal portfolio site you can deploy for free (GitHub Pages, Netlify, or Vercel)
You do not need prior experience with Python or GitHub Actions — the setup script and automation handle those parts for you.
Prerequisites
Before you begin, install and verify the following tools.
1. Git
Git is required to clone the repository and push changes.
Check if it's already installed:
git --version
Expected output (version number may differ):
git version 2.42.0
If not installed:
| OS | Install Method |
|---|---|
| Windows | Download from git-scm.com |
| macOS | brew install git (requires Homebrew) |
| Linux (Debian/Ubuntu) | sudo apt install git |
2. Python 3.x
Required for the automated blog conversion script.
Check if it's already installed:
python3 --version
Expected output:
Python 3.11.4
Warning
On Windows, the command may bepythoninstead ofpython3. Runpython --versionifpython3is not recognized.
If not installed: Download from python.org/downloads
3. A text editor
Any code editor works. Recommended options:
- Visual Studio Code (free, most popular)
- Sublime Text
- Zed
4. A GitHub account
Required to fork the repository and deploy via GitHub Pages. Sign up here if you don't have one.
5. (Optional) A local static server
Not required to install ahead of time — this guide uses npx serve, which runs without permanent installation. If you prefer a permanent tool, python -m http.server also works and ships with Python by default.
Step 1: Fork the repository
Forking creates your own copy of the project under your GitHub account, which you can freely modify.
- Go to the repository: github.com/bayzed123/sayadbayezid-portfolio-
- Click the Fork button in the top-right corner
- Confirm the fork settings (default options are fine) and click Create fork
Tip
Forking (instead of just cloning the original repo directly) means you have your own GitHub repository to push changes to, deploy from, and receive updates from the original project later if you choose.
After forking, your copy will live at:
https://github.com/YOUR_USERNAME/sayadbayezid-portfolio-
Step 2: Clone your fork
Now download your forked copy to your local machine.
git clone https://github.com/YOUR_USERNAME/sayadbayezid-portfolio-.git
cd sayadbayezid-portfolio-
Replace YOUR_USERNAME with your actual GitHub username.
Note
If you plan to contribute improvements back to the original project later, add it as anupstreamremote now:git remote add upstream https://github.com/bayzed123/sayadbayezid-portfolio-.git
Verify the clone succeeded:
ls
You should see files including index.html, README.md, setup.sh, and folders like blog_uploads/, scripts/, and assets/.
Step 3: Review the project structure
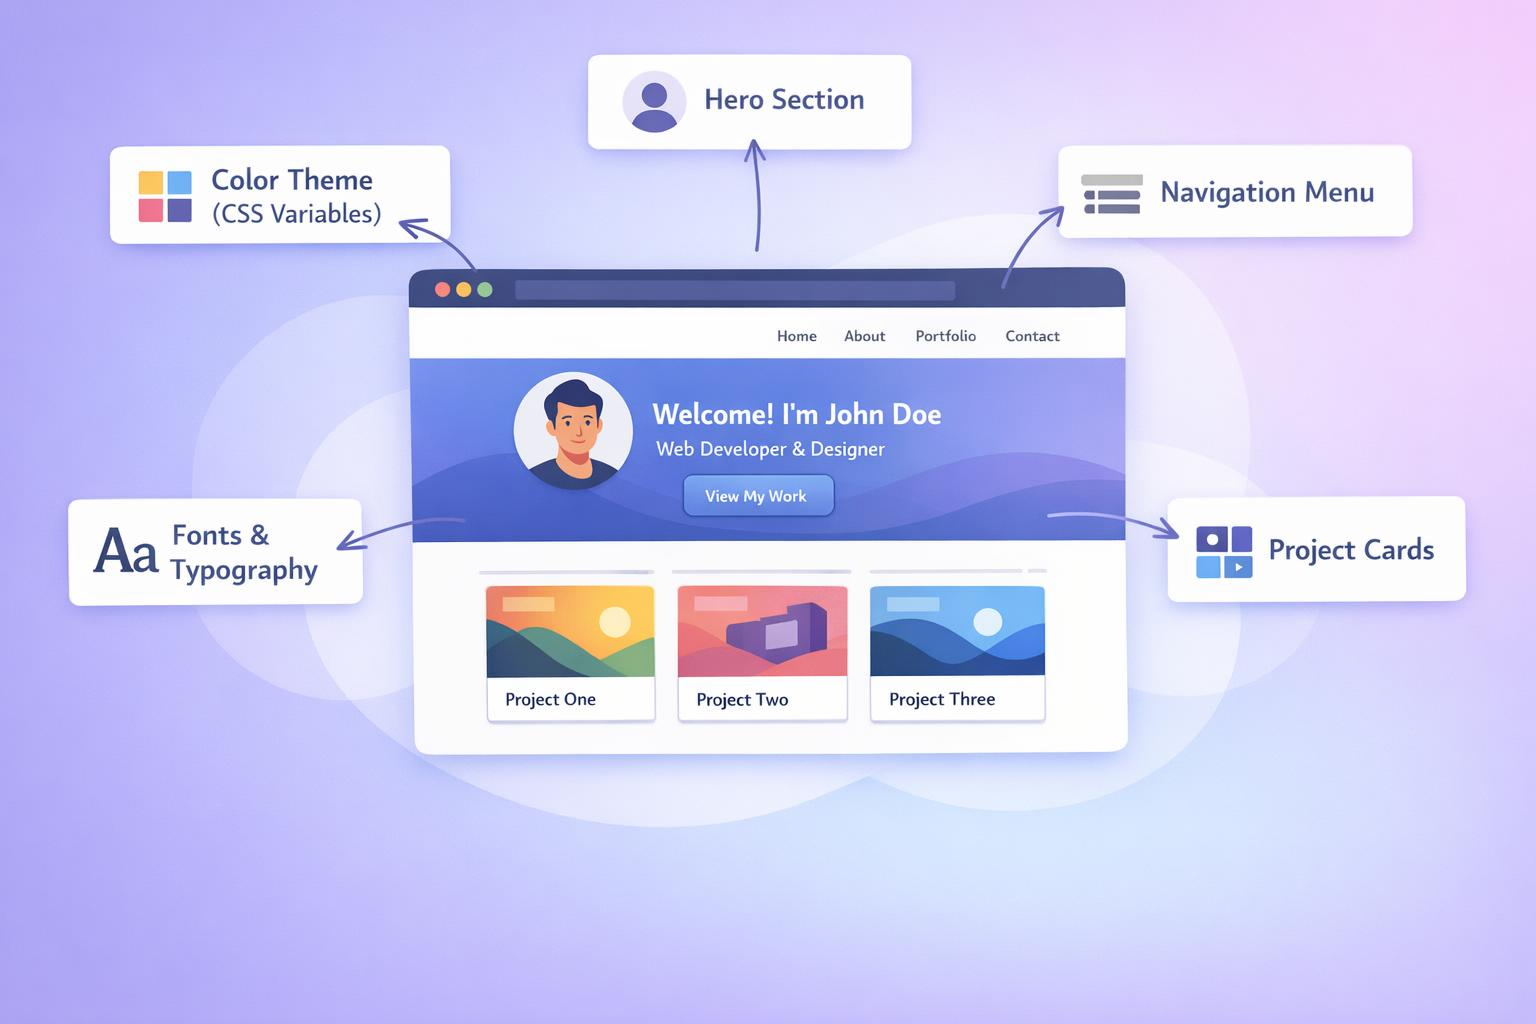
Before making changes, it helps to understand what each part of the repository does.
sayadbayezid-portfolio-/
├── .github/workflows/
│   └── blog_automation.yml     # Auto-converts blog posts on push
├── assets/                      # CSS, JS, images
├── blog_uploads/                 # ✍️ Write new blog posts here
├── blogs/                        # ⚙️ Auto-generated — do not edit
├── i18n/                          # Translation files
├── projects/                      # Project showcase content
├── scripts/
│   └── convert_blogs.py           # Blog conversion engine
├── index.html                     # 🏠 Main homepage
├── blog.html                      # Blog listing page
├── blog-loader.html               # Individual post renderer
├── contact.html                   # Contact page
├── privacy-policy.html            # Privacy policy template
├── 404.html                       # Custom error page
├── setup.sh                        # Personalization script
├── README.md
├── QUICK_START.md
└── WIKI.md
| Folder/File | Edit Directly? | Purpose |
|---|---|---|
index.html |
✅ Yes | Your main portfolio page |
blog_uploads/ |
✅ Yes | Where you write new posts |
blogs/ |
❌ No | Auto-generated JSON — overwritten on every build |
scripts/convert_blogs.py |
⚠️ Only if customizing blog logic | Powers the blog automation |
assets/ |
✅ Yes | Styles, scripts, images |
Step 4: Run the setup script
The repository includes an interactive script that personalizes every file automatically — no manual find-and-replace required.
bash setup.sh
You'll be prompted for the following information:
Enter your full name (e.g., John Doe):
Enter your website URL (e.g., www.example.com):
Enter your GitHub username (e.g., yourusername):
Enter your LinkedIn profile URL (e.g., linkedin.com/in/yourprofile):
Enter your email address:
Enter your blog URL (e.g., yourblog.blogspot.com):
What this script updates
| File | What Gets Changed |
|---|---|
index.html |
Name, website, GitHub link, LinkedIn link |
blog.html |
Same fields, for blog page header/footer |
blog-loader.html |
Same fields, for individual post pages |
README.md |
Project description attribution |
LICENSE |
Copyright name and website |
scripts/convert_blogs.py |
Author name used in generated blog JSON |
Warning
On Windows, run this script using Git Bash or WSL (Windows Subsystem for Linux) — the native Command Prompt/PowerShell cannot execute.shshell scripts directly.
After the script completes, you'll see a confirmation summary:
================================
✅ Setup Complete!
================================

Your portfolio has been personalized with the following information:
  Name: Your Name
  Website: yourwebsite.com
  GitHub: github.com/yourusername
  LinkedIn: linkedin.com/in/yourprofile
  Email: you@example.com
  Blog: yourblog.blogspot.com
Step 5: Install blog system dependencies
The automated blog conversion script requires two Python packages:
pip install beautifulsoup4 markdown
Note
Ifpipisn't recognized, trypip3instead — this is common on macOS/Linux where Python 2 and 3 coexist:pip3 install beautifulsoup4 markdown
Verify the installation:
python3 -c "import bs4, markdown; print('Dependencies OK')"
Expected output:
Dependencies OK
Step 6: Preview locally
Since this is a fully static site, you can preview it using any simple HTTP server. No build step is required for the homepage — only the blog system involves a processing step, and that's already handled by setup.sh verification below.
Option A — Using npx serve (recommended, no install needed)
npx serve .
Output will look like:
┌────────────────────────────────────────────────┐
│                                                  │
│   Serving!                                      │
│                                                  │
│   - Local:    http://localhost:3000              │
│                                                  │
└────────────────────────────────────────────────┘
Open http://localhost:3000 in your browser.
Option B — Using Python's built-in server
python3 -m http.server 8000
Open http://localhost:8000 in your browser.
Tip
Keep this terminal window open while you work — the server needs to keep running for the preview to stay accessible. PressCtrl+Cto stop it when you're done.
Step 7: Verify everything works
Before moving on to customization, confirm the following checklist:
- Homepage loads at
http://localhost:3000with your name/info showing (not the placeholder "Sayad Md Bayezid Hosan") - Navigation links work (About, Projects, Contact, etc.)
- Blog page (
blog.html) loads without errors - No broken image icons on the homepage
Testing the blog system end-to-end
Create a test post to confirm the automation pipeline works correctly:
Create a new file:
blog_uploads/test-post.md# My First Blog Post This is a test of the automated blog system. ## Section 1 Testing content for section 1. ## Section 2 Testing content for section 2.Run the conversion script manually to test locally:
python3 scripts/convert_blogs.pyCheck the
blogs/folder — you should see a new file:blogs/my-first-blog-post.jsonRefresh
blog.htmlin your browser — the test post should now appear in the listing.
Note
This manual run is just for local testing. Once deployed, this same script runs automatically via GitHub Actions every time you push a new file toblog_uploads/— you won't need to run it by hand in production.
If all four checklist items pass, your local environment is fully working. 🎉
Troubleshooting
bash: setup.sh: Permission denied
The script needs execute permission. Run:
chmod +x setup.sh
bash setup.sh
python3: command not found
Your system may only recognize python (without the 3). Try:
python --version
If that shows a 3.x version, use python in place of python3 throughout this guide.
ModuleNotFoundError: No module named 'bs4'
The BeautifulSoup dependency didn't install correctly, or you're using a different Python environment than expected. Try:
pip3 install --upgrade beautifulsoup4 markdown
If you're using a virtual environment, make sure it's activated before installing:
python3 -m venv venv
source venv/bin/activate   # macOS/Linux
venv\Scripts\activate      # Windows
pip install beautifulsoup4 markdown
Setup script ran, but index.html still shows placeholder name
Double-check you ran the script from the repository root directory (where index.html lives), not from inside a subfolder:
pwd
# Should output something ending in .../sayadbayezid-portfolio-
If you ran it from the wrong directory, cd into the correct root and re-run bash setup.sh.
Test blog post doesn't appear after running the conversion script
Confirm the file:
- Is saved with a
.mdextension (not.txtor.markdown) - Is placed directly inside
blog_uploads/(not a subfolder) - Has a valid
# Titleas the first line
Then re-run:
python3 scripts/convert_blogs.py
Check the terminal output for any Python errors — they will indicate exactly which file failed to parse.
Local server shows a blank page or 404
Confirm you're running the server command from the repository root, and that index.html exists in that same directory:
ls index.html
If this returns "No such file or directory," you're in the wrong folder.
Frequently asked questions
Do I need to know Python to use this project?
No. You only need Python installed to run the blog conversion script — you never need to write or edit Python code unless you want to customize the blog system's internal logic.
Can I use this without the blog feature?
Yes. The portfolio homepage (index.html) works completely independently of the blog system. If you don't plan to blog, you can ignore blog_uploads/, blogs/, and the GitHub Action entirely.
Will running setup.sh again overwrite my content?
Running it again will re-apply find-and-replace on the same placeholder strings. If you've already replaced "Sayad Md Bayezid Hosan" with your name, running the script again will have no effect (since it searches for the original placeholder text, which no longer exists). It's safe to re-run if needed.
Can I deploy this without running setup.sh?
Technically yes, but your deployed site will show placeholder content (the original author's name, links, etc.) until you personalize it — either via the script or by manually editing each file.
What license is this project under?
Check the LICENSE file in the repository root for exact terms. Most forks require keeping a small attribution credit in the footer — the setup script does not remove this automatically.
Next steps
Now that your local environment is running, continue with:
- ** Deployment getting started ** — deploy your personalized portfolio to GitHub Pages, Netlify, or Vercel
- ** Blog System Deep Dive ** — learn the full Markdown/HTML authoring options, FAQ accordions, and Table of Contents generation
- ** Customization Guide ** — detailed walkthrough of editing sections, colors, and adding new pages
Further reading
- QUICK_START.md — condensed version of this guide, directly in the repo
- WIKI.md — full technical reference for the blog system architecture
- Repository Issues — report bugs or request features
|
Previous Portfolio customization |
Next Portfolio API Reference |
Help and support
Did you find what you needed?
Thank you! We received your feedback.
Privacy policy
Help us make these docs great!
All GitHub docs are open source. See something that's wrong or unclear? Submit a pull request.
⑂ Make a contribution
Learn how to contribute
Still need help?
👥 Ask the SmartGen community
💬 Contact support
Legal
© 2026 SmartGen. Terms Privacy Expert services Blog